
Audi
New Boat Speakers, Amplifier, and Radio for Local Business
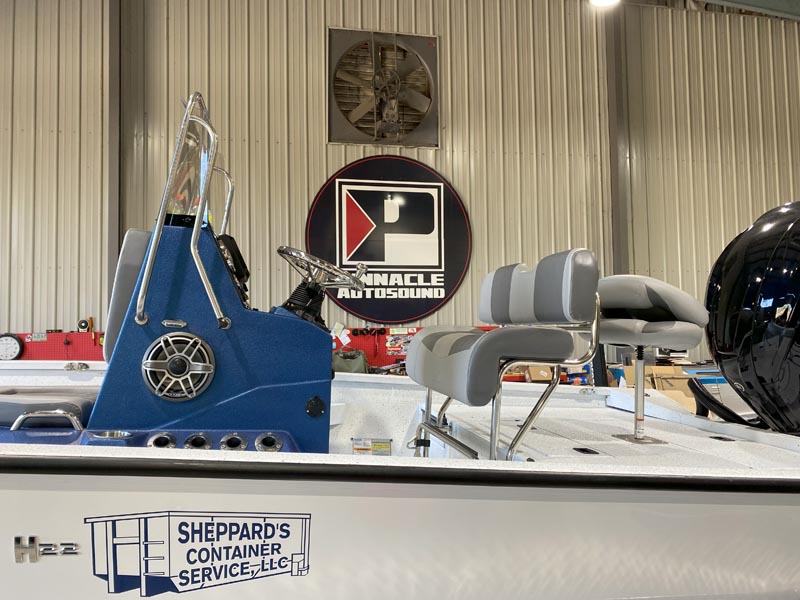
The folks over at Sheppard’s Container Service asked us about adding new boat speakers to their Xpress bay boat. We talked with them about what they were looking for from the audio system and put together a complete system that would exceed their needs while staying within their budget. New Boat Speakers by JL Audio […]
Boat Stereo System Upgrade for Chaparral Ski Boat
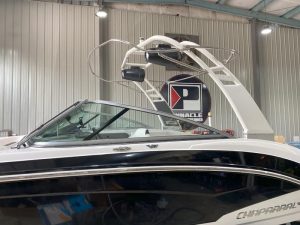
A Lake City client brought us his Chaparral for a boat stereo system upgrade. He wanted his ski boat to not only sound good inside, but he also wanted skiers to be able to enjoy the music while skiing. We went over a few options with the client and scheduled the appointment. Boat Stereo System […]
Cadillac CUE Screen Replacement

We are pleased to be offering Cadillac CUE screen replacement for our clients in Lake City and surrounding areas. Pinnacle Autosound stocks premium CUE screens to replace aged or failing screens. Let’s take a look at the process of replacing a CUE screen in a Cadillac XTS. Cadillac CUE Screen Replacement Starts With Disassembly The […]
Joey Knapp of Pinnacle Autosound Now A JL Audio MAX Certified Tuner
This post has been taken from a social media post sharing the personal experience of Joey Knapp through the MAX Certified training and testing process Audio Tuning Roots Long ago, while writing for Mobile Electronics Magazine, I created a series on tuning audio systems. My plan for the series was based on my understanding of […]
Harley-Davidson Street Glide Audio Upgrade With Cicada Audio
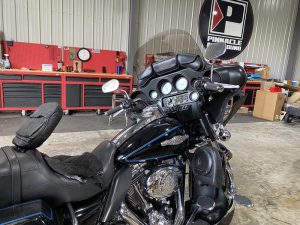
A client from here in Lake City stopped by to ask about a Street Glide audio upgrade for his Harley-Davidson bike. We discussed different options with him and mentioned the new line we brought in, Cicada Audio. He was excited about the features the motorcycle-specific company had to offer, so he booked an appointment for […]
Ford Edge Audio Upgrade for McAlpin Client
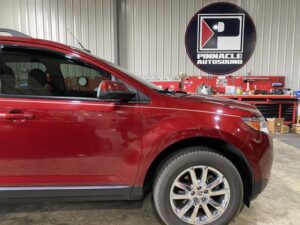
A while back, a client from McAlpin contacted us about getting a Ford Edge audio upgrade. He was not very impressed with the output and quality of sound from his factory audio system. We talked with him about some options, and then, after a few emails back and forth to narrow down the equipment, we […]
Polaris Slingshot Audio and Lighting Upgrades
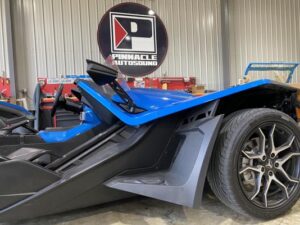
The owner of this Polaris Slingshot came to Pinnacle Autosound to see about adding some audio in the rear of his autocycle. He was also interested in adding a bit of lighting to it. We reviewed a few options with him, devised a plan, and booked his appointment. Underbody Lighting We first tackled the lighting […]
Polaris RZR Audio System Featuring Rockford Tower Speakers
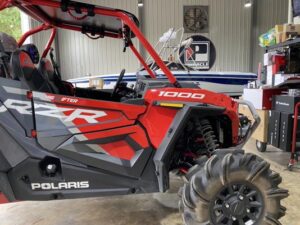
A new client reached out to us a while back about installing a Polaris RZR audio system in his new side-by-side. He didn’t want anything too complicated but wanted to hear it while he was riding and make sure others enjoyed his music too. Many of our clients have similar goals for their UTV, so […]
Chevrolet Colorado Bass Upgrade and Underbody Lighting
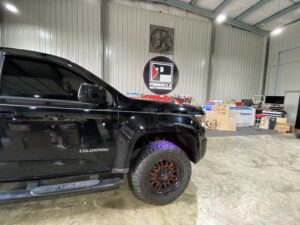
A while back, the owner of this Chevrolet Colorado stopped by to talk about upgrading the audio and lighting in his truck. After looking at the truck, we devised a plan for his Colorado bass upgrade and underbody lighting. Underbody Lighting The client wanted to add a bit of underbody lighting to make his Colorado […]